Showing posts with label How To. Show all posts

Wednesday, December 4, 2013

How to: Create A Fresh Holiday Centerpiece

I started my blog last year just after Thanksgiving.  We missed some key people at dinner this year, but am thankful for those who were there.  An easy and dramatic way to set the table is to bring elements of the outside inside. 
1. Find a piece of wood to make into a votive holder.  My Step-Dad found this piece of birch wood for me and drilled 4 holes to hold small votive candles.  You could also find small branches, tie them together, and rest candles within the branches. 
2. Add fresh cut pine branches around the main piece. 

3. Incorporate other materials, ex. leftover fresh cranberries in a nice container and an extra candle. 
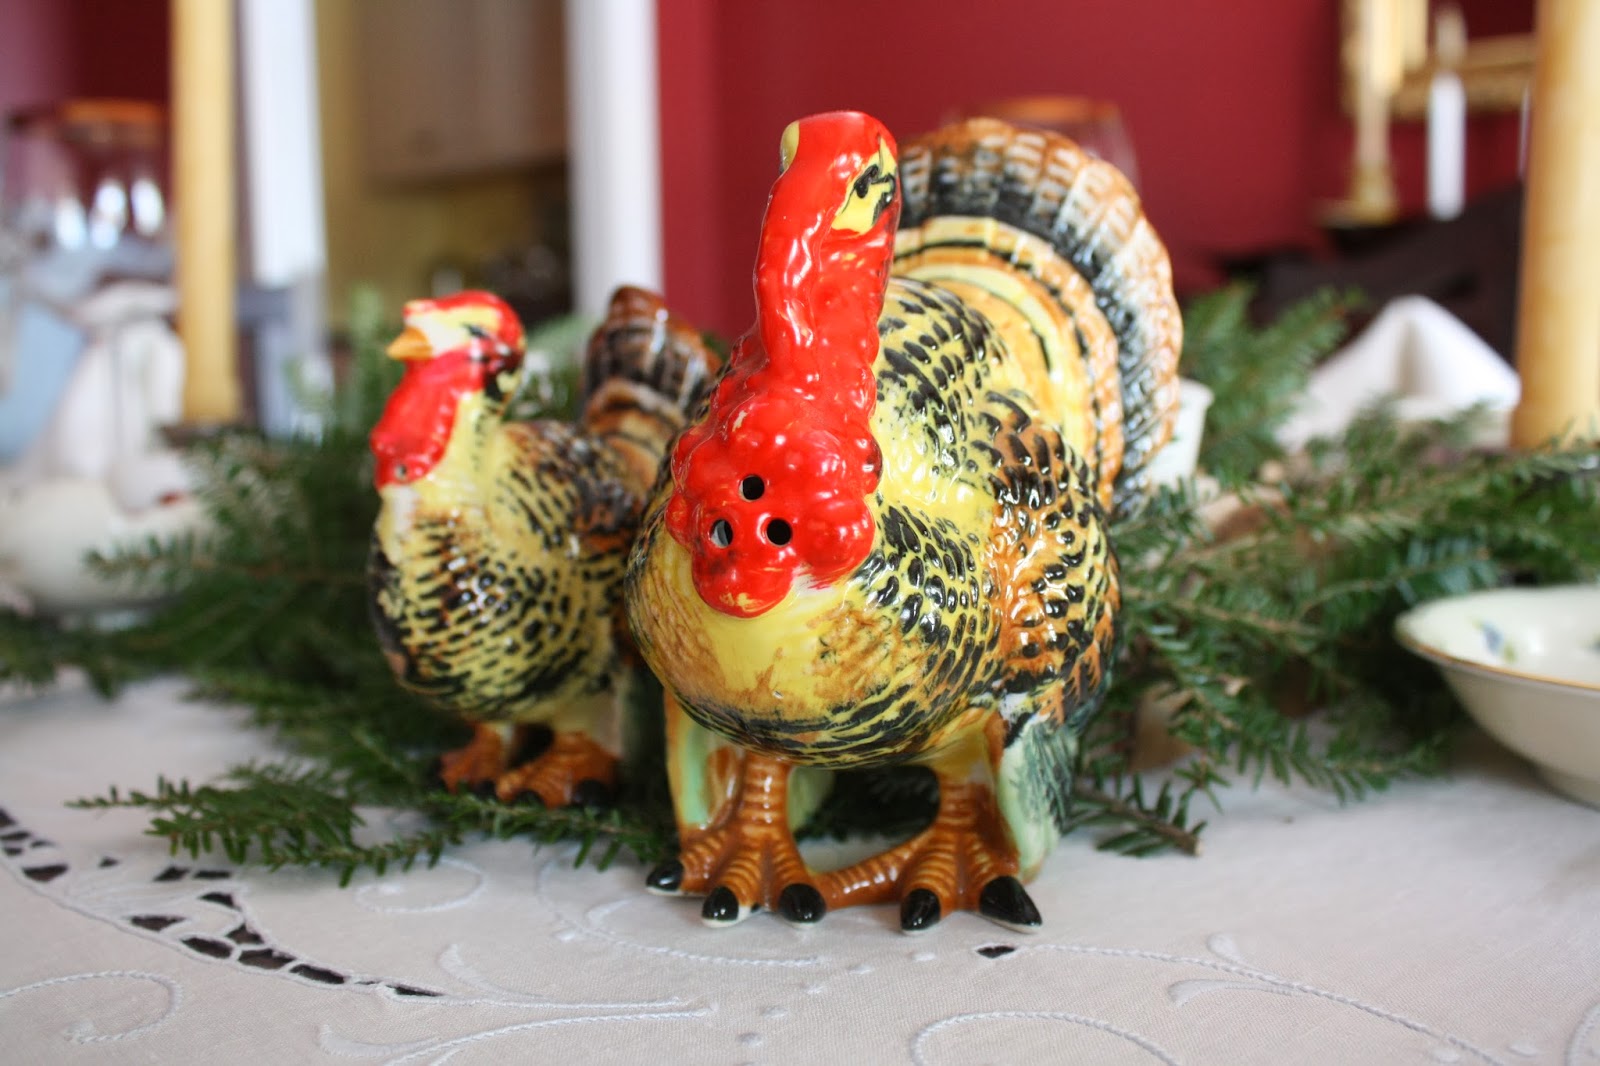
4. Don't forget vintage seasonal items.....
Enjoy!

Laura x

Friday, November 1, 2013

Three Hats You Should Wear this Fall


Vintage Burberry Bucket
Fall hats are a great addition to a wardrobe.  These three shapes of hats are the most classic/versatile.
1. Bucket: popular with fishermen; great for rainy days; perfect for when you want to pretend you don't see someone on the street.  
Tip: When vintage shopping look for labels with "Burberry's."  Anything marked with that label was made prior to 1998 when the house officially changed its name to "Burberry." 

Hat: Vintage; Barn Jacket: Burberry
2. Beanie: Loved by hipsters (male and female alike); embrace your inner 5 year old or French poet; beanies made from angora and/or wool are soft enough that they won't leave a mark in your hair and don't create static. 
 Scala
3. Boho: perfect addition to your Halloween costume as well; not for the shy; not safe to wear when driving!

Laura x

Wednesday, October 16, 2013

How To: Spray Paint Pumpkins

Pumpkins are a uniquely American way to decorate for fall.  I like pumpkins, but carving a pumpkin is a messy job and they usually don't last longer than a few weeks.  Driving with my Mom this weekend, we passed a lot of road-stands selling pumpkins for as little as $3-5.  I had the idea to spray paint some pumpkins to be more my style.  Here is my how-to:

Supplies: 
                                     Pumpkin(s)                 Painters tape: 1"                 Spray paint
1. Apply the painter's tape to your pumpkins in the desired pattern.  Some pumpkins are rounder and suited to vertical stripes, while others work better with horizontal stripes.  Play around to see what works best. 
2. Cover the stem with a small plastic bag to keep the look more "natural."
3. Spray away!
4. Remove the tape after 2-3 minutes. 
Tip: You could also use stencils to mark your pumpkin with your house number, initials, etc.

Laura x

Sunday, September 22, 2013

Thrift Tip: Jean Jacket into Vest


Jean vests are very on trend this fall.  But, don't spend a lot of money on one.  Jean jackets are a thrift store staple....whether vintage or new.  Look for a jacket with a nice wash and that fits your shoulders well.  I found this light wash J Crew jacket for $9.95. 

Simply cut a hold in the middle of the sleeve to start cutting along the shoulder seam.  This couldn't be any easier because you are following the established seam line.  Make sure to use scissors for the most precise cut. 
The vest can be worn with almost any outfit you already have and adds a non-chalant factor.
Laura x


Tuesday, August 20, 2013

Insider's Guide to Thrifting: Spraypainted Patio Table


Thrift Tip: Always look for furniture/objects that can be transformed with spray paint. 
I always try to find extra seating/tables for my deck.  My Mom and I found this metal table when I was home and came up with the idea to spray paint it two complimentary colors to highlight its lines and angles. 
1. Clean the surface of the object thoroughly. 
2. Spray the object completely with the color that will be least prominent in the finished design. 
3. Let the object dry once it is fully painted.
4. Cover the parts that of the object that will remain the original base color.  i.e. anything that is not covered in tape will be the second color.
-Make sure your assistant gets a break!
5. Spray the object with the second color. 
6. Once completely sprayed, remove the painters' tape almost immediately. 
Tip: It also helps if you happened to find an animal-shaped watering can in the same color!
Laura x

Wednesday, June 26, 2013

How To: Eton Mess-A Classic British Dessert

It seems very fitting, during Wimbledon week in the UK, to post my favorite (and easiest British dessert), Eton Mess.  I fell in love with it at the Short family's house (along with some of my other favorite things like cheese feast and game night).  My "recipe" does not do the original any justice, but when I can't get the original, this has to be the next best thing.  

I first had Eton Mess on the Isle of Wight before I was a teenager and I remember it was enough to scare me off for years, too sweet, rotten berries, yuck.  My first taste of Louise's was like a rich and creamy cloud and I was hooked.  See below for my variation made at my Dad's and with Christopher's help!

 The ingredients are: strawberries (the riper the better), heavy cream (or in England "double cream"), sugar, and meringues (either one large or about 10 small ones). 
 1. Wash and hull the strawberries.
2. Macerate the strawberries for as long as possible.  Preferably an hour or so to allow the berries to soften and incorporate the sugar. 

 3. Get ready for the fun part! Breaking up the meringues! You can be as messy as possible. 
Tip: The larger meringues are nice because they have a gooey center which tastes almost like a marshmellow. 
 4. Beat the heavy cream for about 2 minutes, or until it forms stiff peaks. 
5. Layer the finished ingredients in single serving bowls; alternating between strawberries, meringue pieces, and cream. 
 6. Finish until you are out of ingredients and either refrigerate to chill or serve immediately. 
I hope that you can make this dessert to share with your family and friends this summer!

Laura x